
Adding MIB to Zabbix, or importing if you prefer that term, is a fairly simple process. You just need to download and copy the SNMP MIB and its dependent MIBs to the correct Linux directory location and restart the Zabbix server afterwards.
If you are not sure which MIB you need to import, just check the item keys in your Zabbix template. Another method is to examine your Zabbix log file for the error message ‘snmp_parse_oid cannot parse OID‘ It should look something like this:
14361:20230716:101320.423 item "f5system01:ltmNodeAddrStatServerPktsIn["/Common/bmt.com_2"]" became not supported: snmp_parse_oid(): cannot parse OID "F5-BIGIP-LOCAL-MIB::ltmNodeAddrStatServerPktsIn."/Common/bmt.com_2"In this tutorial, I will guide you step-by-step using the SNMP MIB file F5-BIGIP-SYSTEM-MIB.
NOTE: Zabbix can be utilized without MIB files by using OIDs instead of ObjectNames in items, for instance, use 1.3.6.1.4.1.3375.2.1.4.2.0 instead of F5-BIGIP-SYSTEM-MIB::sysProductVersion.0.
Table of Contents
Step 1: Verify the Existence of the MIB Directory
First, let’s check if your MIB directory is created on Linux. To do this, you can use the following command:
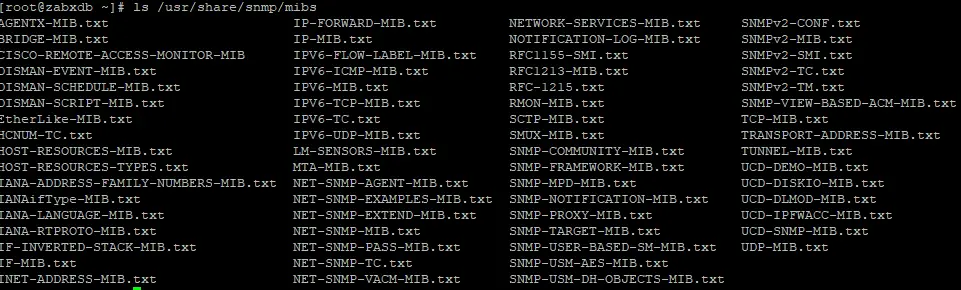
ls /usr/share/snmp/mibs
Do you see any MIB files? Does your output resemble the one in the image below?
If you have that directory and the MIB files within it, then proceed to the next step. However, if you do not have the directory or the MIB files, you can install them using the following commands below:
Debian / Ubuntu / Raspberry Pi OS
sudo apt install snmp-mibs-downloader

RHEL / CentOS / Oracle Linux / Alma Linux / Rocky Linux
sudo yum install net-snmp
Step 2: Automatically Download MIB Files with Python Script
Before we use the script to automatically download MIBs, I need to show you how to do it manually. Search the MIB database for the MIB that you would like to import into Zabbix. Download that MIB and every MIB listed under the ‘Imports’ section. Change the extension of all the downloaded MIB, replacing ‘.mib’ with ‘.txt’, and copy them to the correct directory path. By default, it is “/usr/share/snmp/mibs“. Afterward, you need to reset the Zabbix service, and that’s it!

Importing MIB and its dependent MIBs can be a slow and error-prone process, depending on the number of MIBs that need to be imported. To automate this, I have created a Python script. Below are step-by-step instructions on how to import MIBs on the Zabbix server.”
a) Find correct name of the MIB file
Go to the MIB database, search for your MIB, and note down its correct name without any extension. In my example, that would be F5-BIGIP-SYSTEM-MIB.
b) Download the python script
Download the ‘ZabbixDownloadMib.py’ script from Github:
curl -O https://raw.githubusercontent.com/TheAldin/scripts/main/ZabbixDownloadMib.py
c) Run the script
Run the script like this: ‘sudo python3 ZabbixDownloadMib.py <MIB name> <MIB DIR PATH>‘
[zabbixserver@localhost ~]$ sudo python3 ZabbixDownloadMib.py F5-BIGIP-SYSTEM-MIB /usr/share/snmp/mibs
Downloaded F5-BIGIP-SYSTEM-MIB.txt successfully.
Downloaded F5-BIGIP-COMMON-MIB.txt successfully.
Downloaded INET-ADDRESS-MIB.txt successfully.
Downloaded SNMPv2-CONF.txt successfully.
Downloaded SNMPv2-SMI.txt successfully.
Downloaded SNMPv2-TC.txt successfully.
d) Restart the Zabbix server
systemctl stop zabbix-server
systemctl status zabbix-server
systemctl start zabbix-server
Step 3: Enable MIB Support for SNMP Traps (Snmptrapd)
You may have correct MIB files in the MIB directory (‘/usr/share/snmp/mibs’) but Snmptrapd will not load them by default!
To enable this, you need to edit the Snmptrapd service with the option ‘-m ALL‘ which means it will load and make available all SNMP MIB modules configured on the system:
nano /usr/lib/systemd/system/snmptrapd.service
Add the option ‘-m ALL’ so that the ‘ExecStart’ line looks like this (note that this line differs on RHEL from Debian-based OS):
RHEL / CentOS / Oracle Linux / Alma Linux / Rocky Linux
ExecStart=/usr/sbin/snmptrapd $OPTIONS -f -m ALL

Debian / Ubuntu / Raspberry Pi OS
ExecStart=/usr/sbin/snmptrapd -LOw -f -m ALL -p /run/snmptrapd.pid
Save and exit file (ctrl+x, followed by y and enter), then reload the daemon and restart the Snmptrapd service afterward:
systemctl daemon-reload
systemctl restart snmptrapd
Read more about SNMP traps in this tutorial: Zabbix SNMP Traps: A Step-by-Step Guide (Easy Setup).